
Heiland Splitgrade Manual

Heiland Splitgrade Controller with measuring probe.
Introduction
Monochrome darkroom printing is a craft and takes its time. Making test strips, estimating the negative contrast and finally dodging and burning.
This is what most photographers would state – but I strongly disagree. The modern darkroom process is time efficient, precise and replicable – thanks to devices like the Heiland Splitgrade Manual.
Review
The Heiland Splitgrade Manual replaces the darkroom timer and calculates exposure time and grade automatically and reliably. This sounds like magic, and if you have never worked with a similar device (e.g. RH Designs Analyzer Pro) before, it might blow your mind and revolutionize your darkroom experience.
In Use
Basic Method
Before printing, the film and paper type have to be selected.
After that, the focus light of the enlarger is turned on, the image is composed, focused and the working f-stop has to be set.
With a small probe, the whole image area (except extreme highlights like lightbulbs) is scanned by moving it around until a beeping sound stops.

Heiland Splitgrade Measuring Probe (old version)
The Heiland Splitgrade Manual now displays the contrast ratio (the appropriate grade) and time.
Now, the focus light has to be turned off and a sheet of paper has to be inserted.
The image is then printed using the splitgrade method. This means, that the image is exposed with the lowest grade (00) and then the highest grade (5) in succession with the respective calculated times.
The described standard method results in a technically correct print displaying 90% Dmax for shadows and 0.04 logD for highlights.
This is by far the quickest and easiest way to achieve such a print in the darkroom.
Changing the (Split)grade
Now an inconvenient truth about your analog photography: Your casually shot negatives are usually not exposed and developed correctly unless you stuck to Ansel Adam’s methods.
While the negatives you created are perfectly printable, the grey point is usually too high or low.
The print calculated by the Heiland Splitgrade Controller will therefore look to light or dark. Your mistakes become especially apparent when there are points of reference such as skin tones in the image. In order to fix your neglicences, you have to change the exposure time to get the greys where you need them.
The second important lesson that the Heiland Splitgrade teaches you is that a technically correct image might appear to flat. Having a full grey scale does not automatically result in a pleasing print. With the Heiland Splitgrade, a manual override is easily doable. By deviating from the recommended grade (usually increasing the contrast) you start loosing shadow and highlight details, but get a crisp print as a compensation.

Heiland Splitgrade - rear view
Additional Methods
Instead of scanning the whole image, you can also conduct a multi-spot metering (“multipoint measurement”).
Another very useful method is called the “time measurement”. A grade is pre-selected and only a black (90% density), mid grey or white (0.04 logD) area is measured. The time-method comes in handy when only a partial grey scale is present in the image.
It is worth mentioning that the Heiland Splitgrade Manual is also capable of performing precise dodging and burning calculations.

Heiland Splitgrade - display
The Advantages
Many good things can be said about the Heiland Splitgrade Manual:
It is compatible with every enlarger.
No user calibration is required - the list of pre-programmed papers covers many current offerings and if not, Heiland Electronic is happy to help.
The full text display ensures relative easy of use.
A high degree of precision ensures very good replicability.
The Heiland Splitgrade is a sustainable product that will last a lifetime – Heiland provides software updates and great e-mail support. The build quality is formidable – German engineering made in Wetzlar at its best.
One Caveat
In use, I found one downside to the device in its standard configuration. The measurements are not displayed on a grey scale. Especially when using the multi point method, this was an annoyance to me.
However, Heiland released the “Splitgrade Comfort Module”, which adds a second display with a grey scale. This increases the space requirement for the device by quite a bit.

Heiland Splitgrade Comfort - add-on module (image courtesy of Heiland Electronic)
Verdict
German precision for maximum productivity in the darkroom – that is how to describe the Heiland Splitgrade Manual.
At first the cost for a Heiland Splitgrade seems substantial, but the time and paper you’ll save with such a device makes it well worth it.
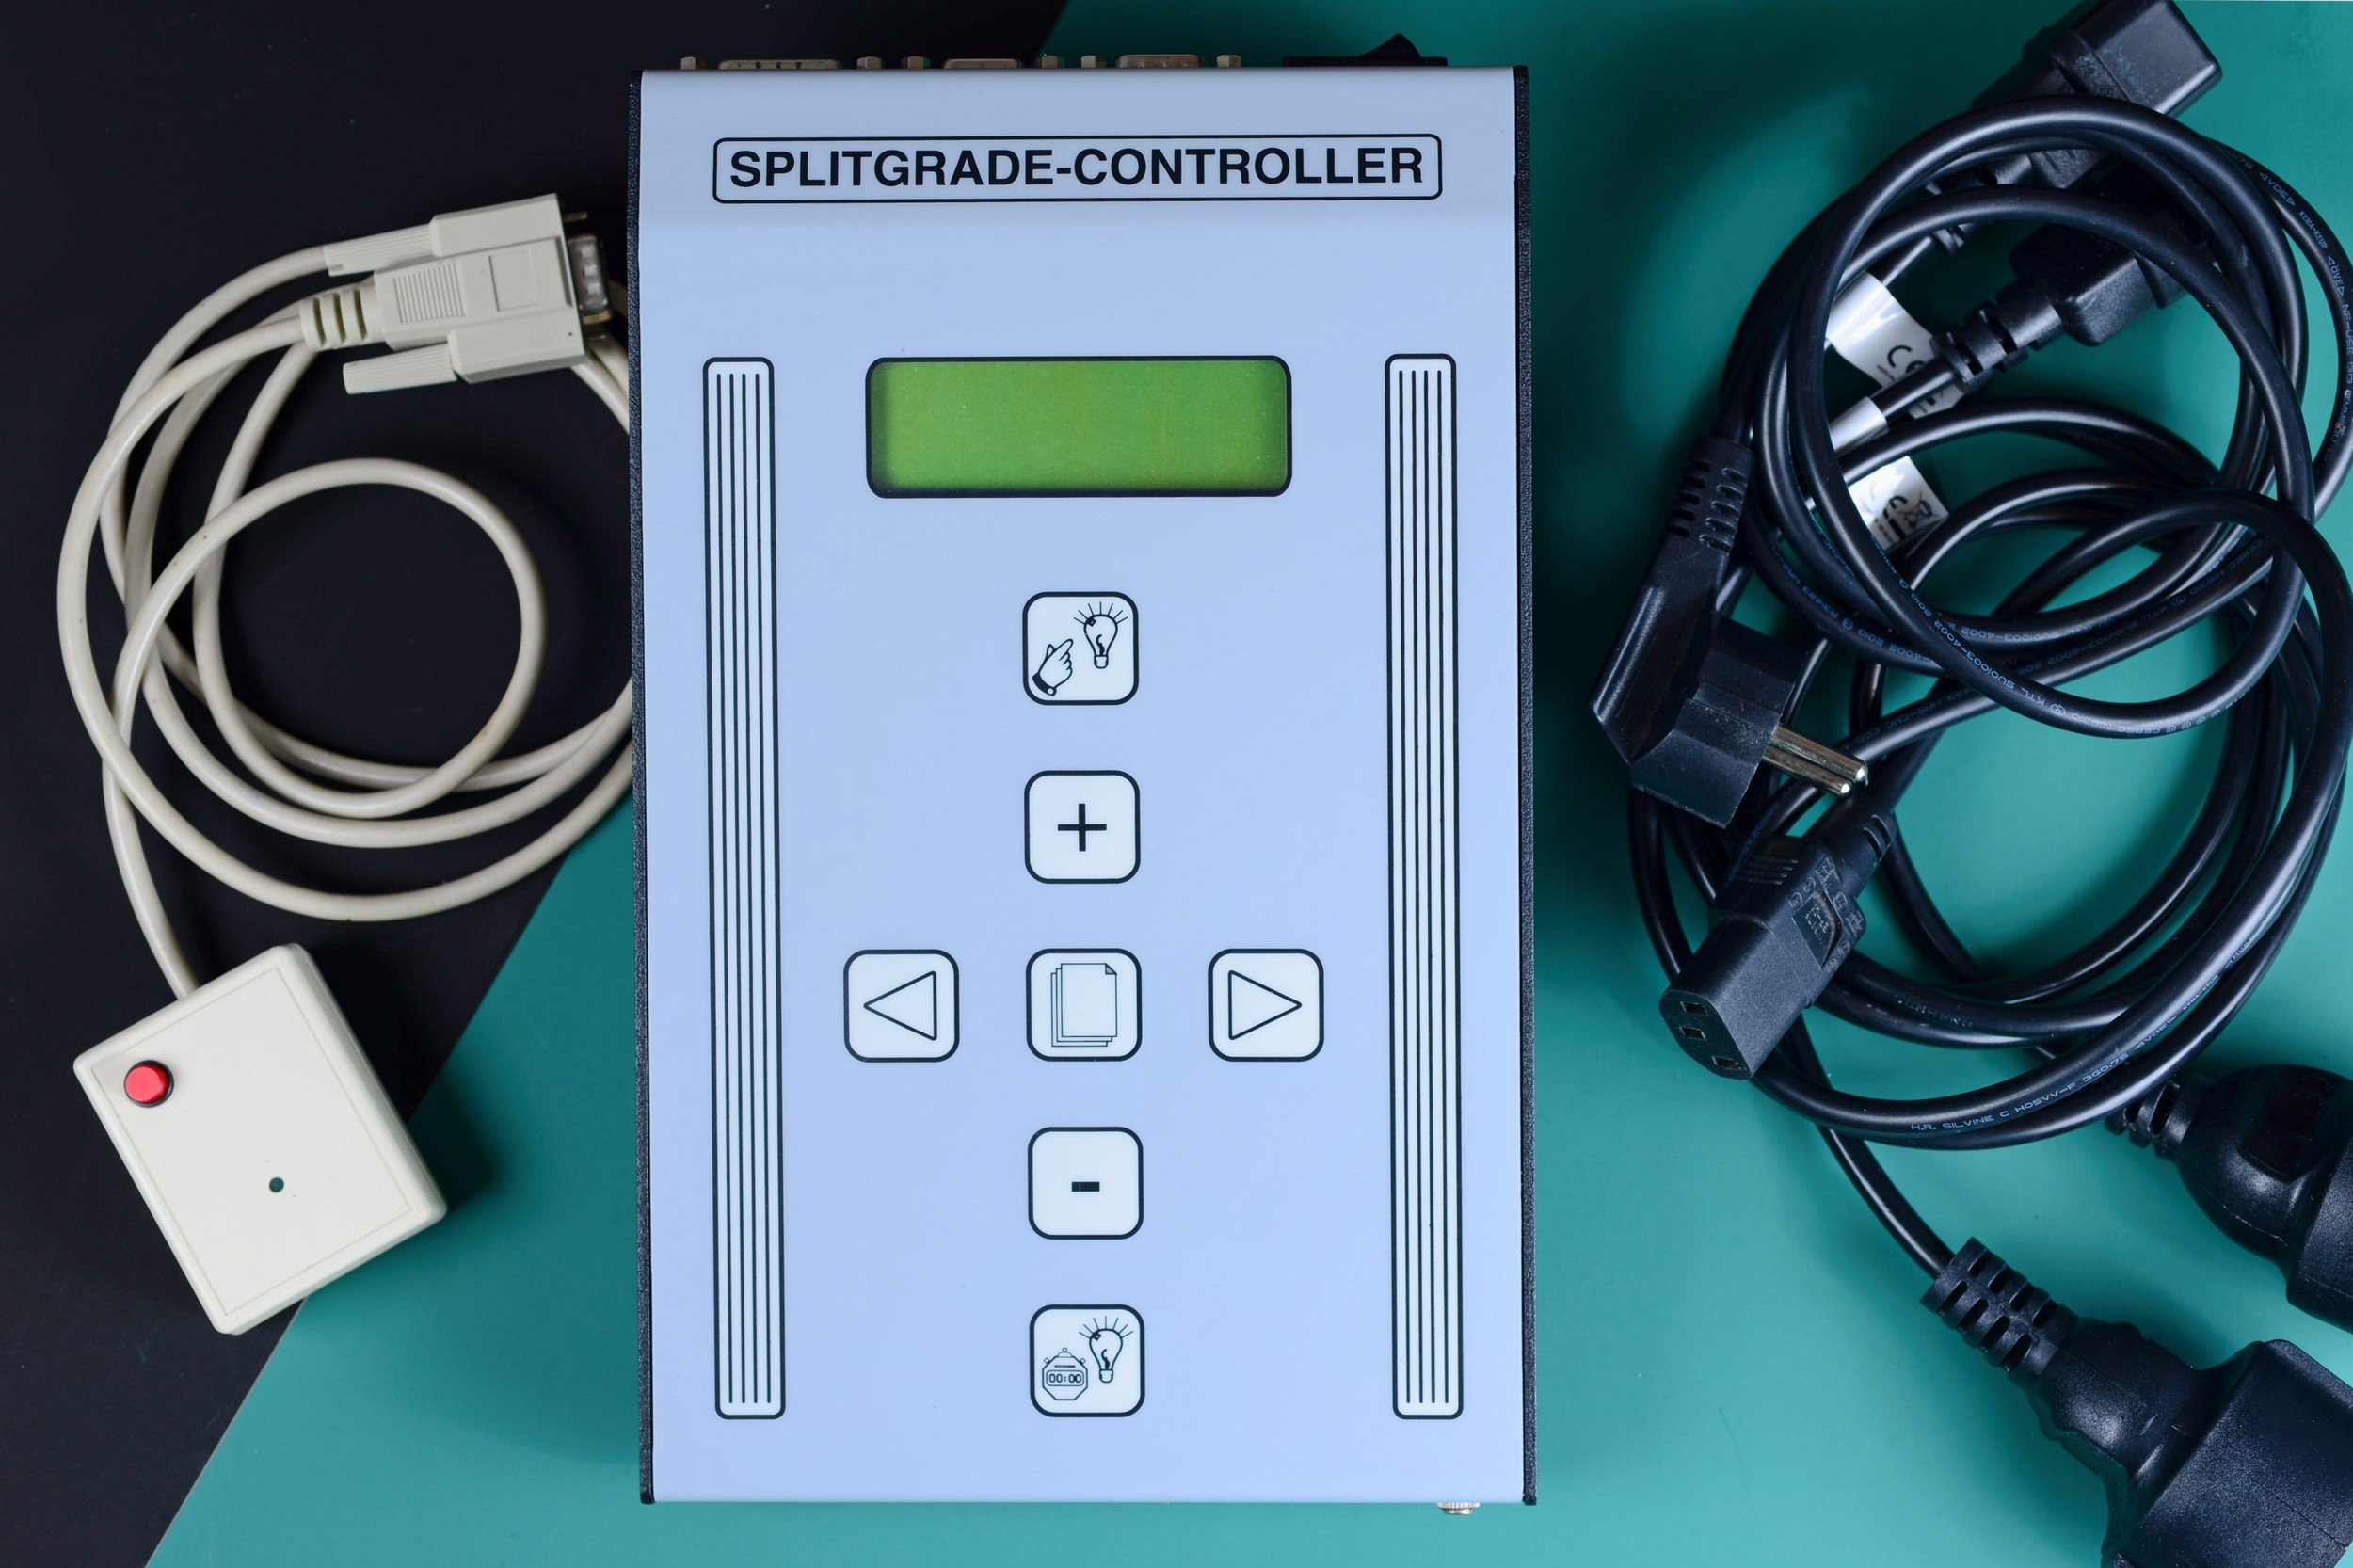
Heiland Splitgrade Manual (old chassis) - full system

Heiland Splitgrade Manual (latest chassis)
Additional Remarks
Over the years, the Heiland Splitgrade’s exterior and measuring probe underwent minor redesigns. The device in this review is older chassis with the latest software.
Heiland also offers a fully automated Splitgrade system with an automatic filter changer available for most enlarges. For professional photographers and labs, such a setup is an investment worth considering.
Visit Heiland Electronic (EN).

Heiland Electronic Splitgrade system diagram (image credit: Heiland Electronic)